
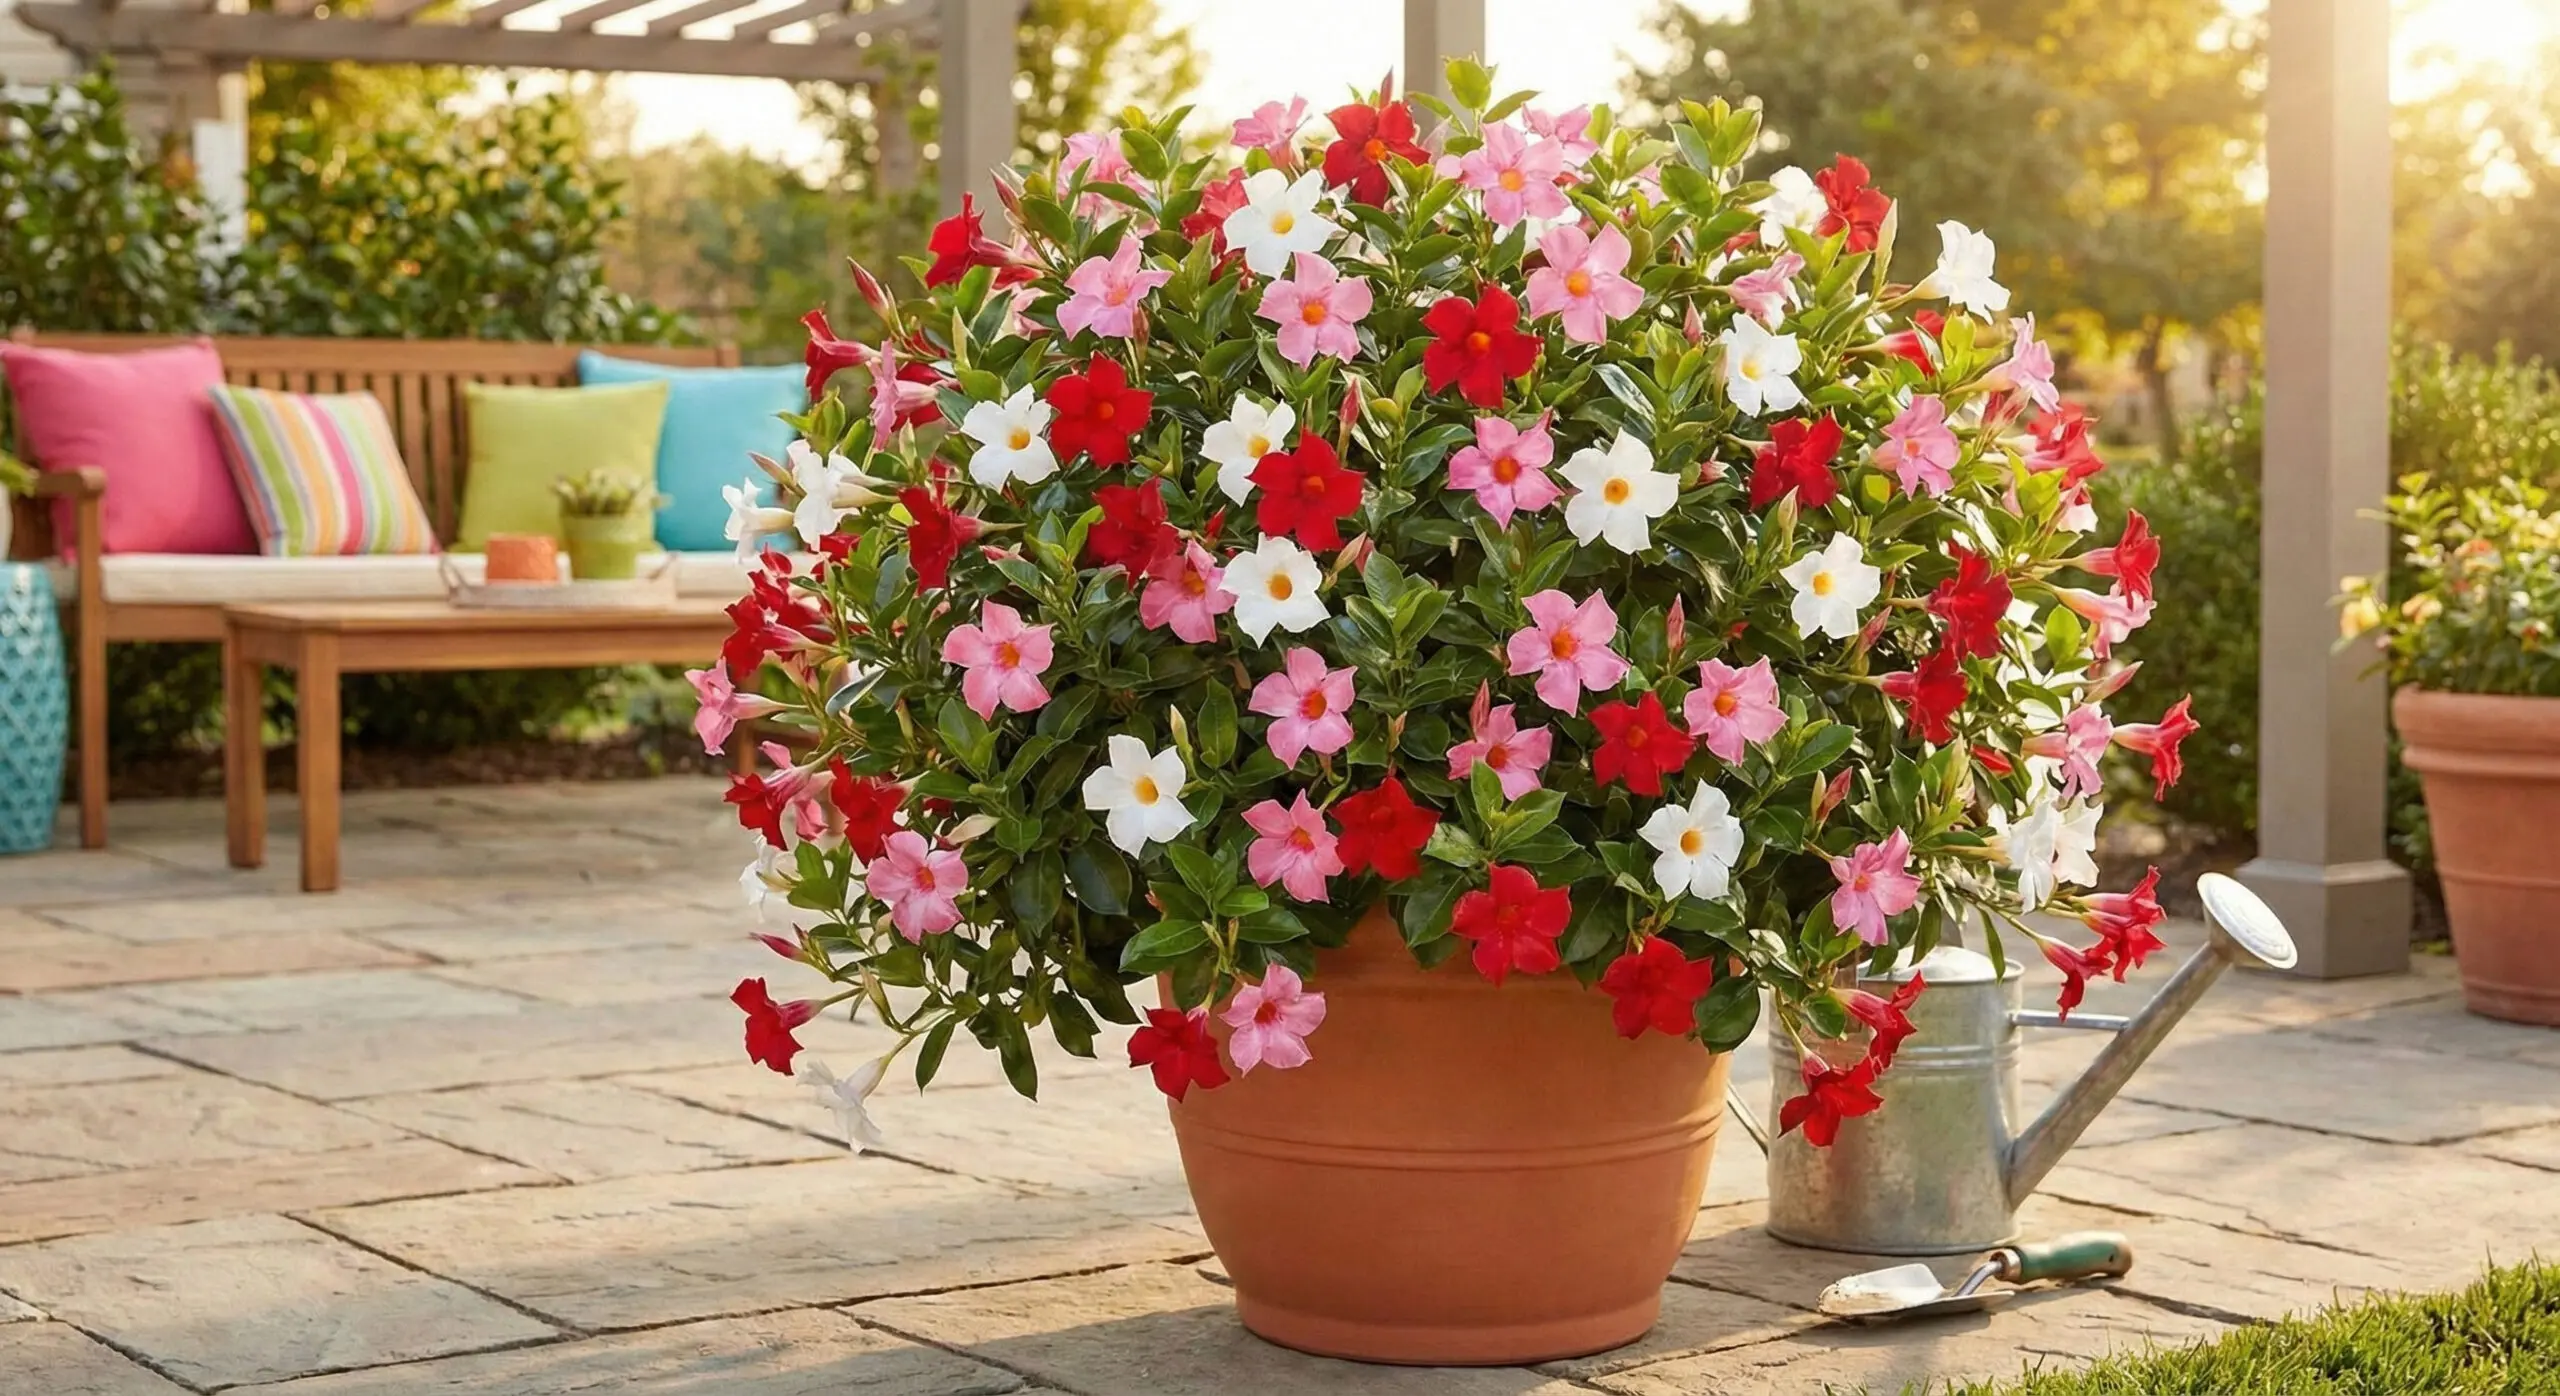
Dipladenia planting works best when you give the plant warmth, bright light, and soil that drains freely. Plant it in a container or garden bed with enough room for its roots, then water well while it settles in.
Dipladenia is commonly sold under the name Mandevilla, so you may see both names on plant labels. This guide uses “dipladenia” throughout.
TL;DR
- Plant dipladenia when the weather is warm and cold nights have passed.
- Use well-drained soil and a pot with drainage holes.
- Give dipladenia bright light, with some protection from very hot afternoon sun.
- Water deeply after planting, then keep the soil lightly moist without leaving it soggy.
- Container planting is a good choice where winters are cold or wet.
When should you plant dipladenia?
Plant dipladenia when temperatures are reliably warm and the risk of cold weather has passed. In a warm, frost-free climate, you can plant it outdoors when the soil is warm enough for active growth.
Cold is a bigger concern than the exact calendar date. If your area has cool nights, wait until the weather settles before planting outdoors. In colder climates, keep dipladenia in a container so you can move it to shelter when temperatures fall.
Spring is a practical planting time because the plant has a long warm season ahead. If you are planting during a hot period, give the new plant protection from harsh afternoon sun for the first few days while it adjusts.
How do you plant dipladenia?
Dipladenia planting is simple when you start with fast-draining soil, a suitable container or planting site, and a healthy plant. Set the plant at the same depth it was growing before, firm the soil gently, and water it thoroughly.
Choose the right site
Pick a bright, sheltered spot with good air movement. Dipladenia needs plenty of light for strong growth and flowering, but intense afternoon heat can be harsh, especially for a newly planted specimen.
For a container, choose a pot with drainage holes. A container that is only slightly larger than the root ball is easier to manage than a very large pot filled with wet soil.
Prepare the soil
Use soil that drains freely. Heavy, slow-draining soil can stay wet around the roots after watering, so improve drainage before planting if needed.
For containers, use a good-quality potting mix suited to flowering plants. Avoid packing the mix down hard because roots need air as well as moisture.
Set the plant at the right depth
Slide the dipladenia from its nursery pot carefully. If the roots are tightly packed around the outside of the root ball, loosen a few gently with your fingers.
Place the plant so the top of the root ball sits level with the surrounding soil. Do not bury the stem deeper than it was growing before.
Fill around the roots and press the soil lightly to remove large air pockets. Then water slowly until the soil is evenly moist.
How much light does dipladenia need after planting?
Dipladenia grows best in bright light, with protection from intense heat where the afternoon sun is very strong. A bright patio, balcony, or sheltered garden position can work well.
Watch the plant during the first week after planting. If the leaves wilt badly during the hottest part of the day, give it some temporary afternoon shade while the roots establish.
Too little light can also cause problems. A plant placed in deep shade may produce weaker growth and fewer flowers.
How should you water newly planted dipladenia?
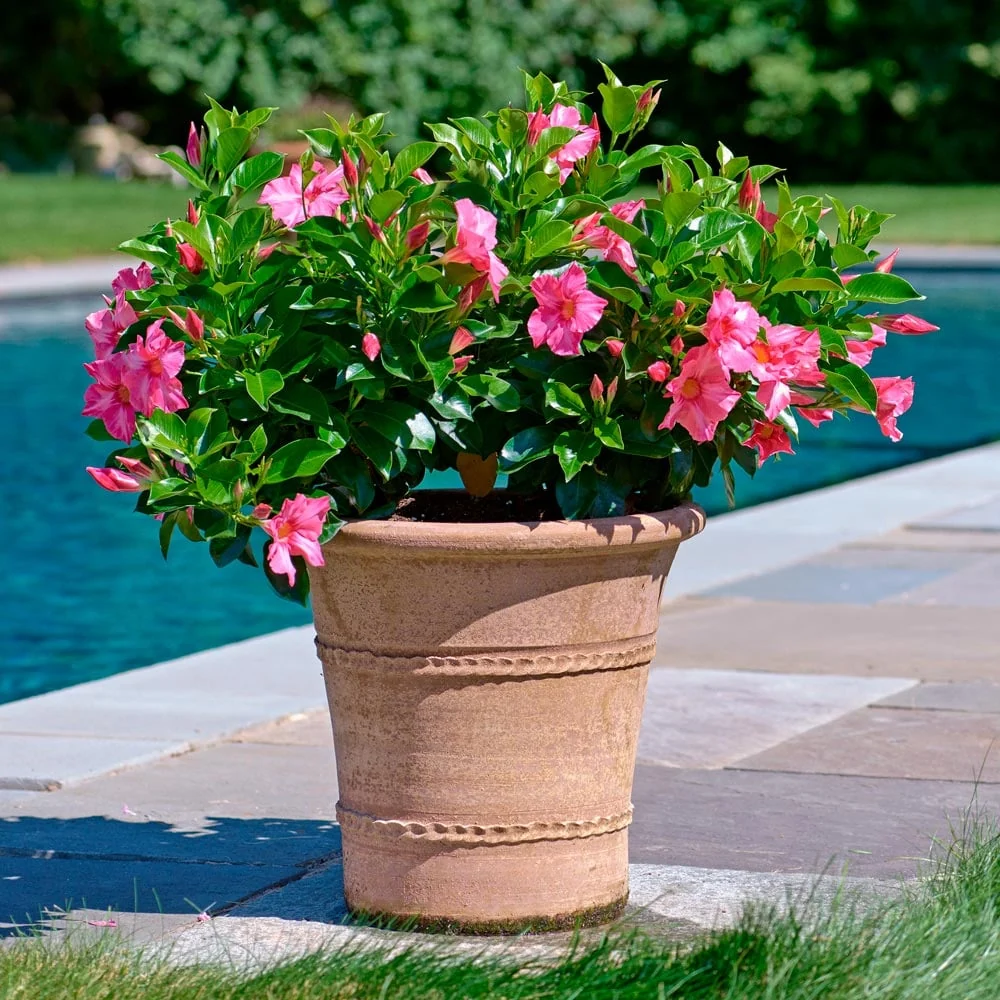
Water dipladenia thoroughly after planting, then water again when the soil begins to dry rather than following a fixed daily schedule. Newly planted roots need steady moisture while they settle into the surrounding soil.
Check the soil with your finger before watering. If the surface is dry but the soil below is still slightly moist, wait a little longer.
In hot weather, container-grown dipladenia may need more frequent watering because pots dry faster than garden soil. During cool or wet weather, reduce watering and let excess water drain away.
The goal is moist soil, not constantly saturated soil.
Does dipladenia need a support after planting?
Many dipladenia plants benefit from a small support, especially when they are grown as climbers. Add a trellis, stake, or similar support near the plant soon after planting so you do not disturb the roots later.
Guide young stems toward the support and tie them loosely if needed. Do not pull the stems tightly against the support. Give them room to move as they grow.
Some compact types have a more bushy habit and may need little support. Check the growth habit of your particular plant before choosing a large trellis.
What should you do during the first few weeks?
The first few weeks are about steady moisture, suitable light, and protection from stress. Avoid moving the plant repeatedly unless weather conditions make the current position unsuitable.
Keep the soil evenly moist while new roots develop. Remove damaged leaves, but avoid heavy pruning immediately after planting.
If the plant is in a container, check the drainage hole after watering. Water should be able to leave the pot freely rather than collecting around the roots.
Watch for signs of stress such as persistent wilting, yellowing leaves, or very slow new growth. Check the soil first, because both excess water and dry roots can cause similar symptoms.
Common mistakes with dipladenia planting
- Planting too early can expose a warm-season plant to cold conditions before it has established.
- Using a pot without drainage holes can leave the roots sitting in excess water.
- Planting too deeply can bury the lower stem and create poor growing conditions around the base.
- Watering on a fixed schedule can lead to overwatering during cool weather or underwatering during hot weather.
- Putting a newly planted plant in severe afternoon heat can increase stress before the roots have settled.
- Adding a large support later can disturb established roots, so install one early if the plant needs climbing support.
Frequently asked questions about dipladenia planting
What is the best soil for dipladenia planting?
Use a loose, well-drained potting mix or garden soil that does not stay waterlogged. Good drainage is more useful than heavy, moisture-holding soil.
Can I plant dipladenia directly in the ground?
Yes, if your climate stays warm enough and the planting site drains well. In colder areas, a container makes it easier to protect the plant during cool weather.
How deep should I plant dipladenia?
Plant dipladenia at the same depth as it was growing in its nursery container. Keep the top of the root ball level with the surrounding soil.
How often should I water dipladenia after planting?
Water thoroughly after planting, then check the soil before watering again. Water more often in hot, dry weather and less often when conditions are cool or wet.
Does dipladenia need full sun?
Dipladenia needs bright light, but very strong afternoon sun can cause stress in hot climates. A bright site with some afternoon protection can work well.
Can dipladenia grow in a pot?
Yes. Dipladenia grows well in containers when the pot has drainage holes and the soil drains freely. Container growing also makes seasonal protection easier.
Do I need a trellis for dipladenia?
A trellis is useful for plants with climbing growth, but compact forms may stay more bushy. Choose the support based on the plant’s growth habit.
Can I plant dipladenia in winter?
Avoid outdoor planting during cold weather. Wait for reliably warm conditions, or keep the plant protected in a suitable container until temperatures rise.